
Contents
A seam may open when the dough edge is dry, covered in flour, poorly joined or placed under too much tension.
A seam that looks closed immediately after rolling can open as the loaf expands. The joining surfaces may be coated in flour, dried at the edge or pushed apart by excessive tension. Note when the opening begins rather than treating every split seam as a baking defect.
Inspect the edge before it is rolled into the seam, then compare the shaped loaf before and after proofing. If the seam already shows a weak join, improve that earlier condition through the recipe and approved forming process. Forcing the seam harder can thin the outer dough without removing the flour or filling that prevents a good join.
Rolling direction alongside seam position on the tray
| Start with | Compare alongside | Question for the sample |
|---|---|---|
| Opening before versus during baking | Seam pressure | Do the accepted sample and the problem sample differ in both opening before versus during baking and seam pressure? |
| Flour on the joining edge | Over-tight shaping | Does the sample show a difference in flour on the joining edge before you inspect over-tight shaping? |
| Dry dough skin | Seam position on the tray | Is the difference in dry dough skin still present when you inspect seam position on the tray? |
| Rolling direction | Proofing expansion | What changes between the observation of rolling direction and the check of proofing expansion? |
Opening before versus during baking
Look at opening before versus during baking in the same part of the batch as the defect. Baking changes dough and filling together. A raw shape that looks correct can still give a soft base, uneven color or an unexpected texture if heat and moisture move differently from the intended recipe. The tray and the time spent waiting before baking can also matter.
Compare the raw sample with its baked result and note whether the defect was visible before oven entry. An empty-shell test can help separate a pastry issue from the effect of the filling when the recipe permits it.
Do not use browning alone as proof that the center or filling has reached the intended state. Follow the validated baking process for the food.
Flour on the joining edge
Pay particular attention to flour on the joining edge before changing a setting. Extra flour can travel with a sheet into the next operation. It may reduce contact on the belt while preventing dough surfaces from joining cleanly later. Keep track of where it is applied and compare the finished food, especially when scraps are reused. A handling improvement that changes texture or closure is not yet a complete solution.
For this example, read flour on the joining edge alongside rolling direction. Note whether a difference in flour on the joining edge is present in the same samples that show a difference in rolling direction; that relationship helps decide which part of the route deserves the next closer look.
Dry dough skin
It is easy to overlook dry dough skin when judging only the finished shape. An exposed dough surface can lose moisture and become less flexible than the dough underneath. When that surface is stretched or pressed, it may split while the interior still feels soft. Small portions are particularly easy to leave exposed while the rest of a batch is being prepared.
Compare a portion protected according to the recipe with one that spent longer exposed. Look for a dull, leathery surface or a fine crack that appears as the piece is gently shaped.
Covering prevents unnecessary surface drying but does not repair a dough that was mixed incorrectly or held beyond the recipe's handling limits.
Rolling direction
A closer look at rolling direction can separate an upstream change from a later handling effect. A log is a sheet wrapped around itself. Differences in sheet thickness and the way the leading edge begins rolling become differences between turns. A cross-section helps connect the final shape with that starting geometry. Keep the rolling path and dough relaxation visible in the comparison instead of treating the smooth exterior as proof of an even interior.
Compare rolling direction and seam pressure in the accepted sample and the problem sample. If rolling direction matches while seam pressure differs, keep them as separate clues rather than treating the whole product as one undifferentiated result.
Seam pressure
Use seam pressure as an observation rather than an automatic reason to add more pressure or speed. Closure should be checked before expansion makes the weakness obvious. Compare the joining surfaces, available wrapper and location of the filling. An opened seam and a puncture beside an inclusion can both leak but point toward different causes. Preserve the intended portion balance while correcting placement and contact rather than reducing every filling dose by default.
For this example, read seam pressure alongside seam position on the tray. Note whether a difference in seam pressure is present in the same samples that show a difference in seam position on the tray; that relationship helps decide which part of the route deserves the next closer look.
Over-tight shaping
Keep a separate note of over-tight shaping so it can be compared with the accepted result. Pressing moves dough into the space allowed by the tool and mold. The amount of dough, its resistance and the path of the tool all matter. Increasing force can spread a firm piece further, but it can also thin a weak area or blur a delicate layer.
Inspect the piece after the first contact where the process allows safe observation. Seeing where the dough starts to move helps explain the final base, wall and edge.
Follow the approved adjustment limits. A stronger press is not a reliable substitute for correcting dough condition, portion size or tool alignment.
Seam position on the tray
For this question, seam position on the tray gives you a specific place to begin. Plan for the food after it grows or spreads, not just its footprint on arrival. Tray edges and handling allowances also reduce the useful receiving area. Verify proposed rows with actual products through the intended finishing route. A maximum physical count may be too crowded to produce the appearance and texture the recipe requires.
Compare seam position on the tray and proofing expansion in the accepted sample and the problem sample. If seam position on the tray matches while proofing expansion differs, keep them as separate clues rather than treating the whole product as one undifferentiated result.
Proofing expansion
The next useful clue is proofing expansion. Fermentation keeps changing dough through the waiting and forming route. Raw weight can remain constant while gas volume and handling behavior change. Compare portions at similar elapsed stages, then inspect the proofed and baked result. A speed display cannot show whether the dough was ready or whether a long queue changed the later portions.
For this example, read proofing expansion alongside flour on the joining edge. Note whether a difference in proofing expansion is present in the same samples that show a difference in flour on the joining edge; that relationship helps decide which part of the route deserves the next closer look.
A practical route from the first clue to the next batch
To work through this example, begin with flour on the joining edge and dry dough skin. Compare their appearance or measurement in the reference sample and the sample showing the problem. Then follow seam pressure and seam position on the tray before judging opening before versus during baking. The key conclusion is: a seam may open when the dough edge is dry, covered in flour, poorly joined or placed under too much tension. In particular, the connection between flour on the joining edge, seam pressure and opening before versus during baking should remain visible in the evidence. For example, a difference already visible at flour on the joining edge should remain part of the explanation even if the final result is first noticed at opening before versus during baking. If flour on the joining edge and dry dough skin match but opening before versus during baking differs, inspect the intervening observations of seam pressure and seam position on the tray before changing the recipe. Record whether over-tight shaping was observed before or after any normal pause, so the comparison with proofing expansion can be made again under similar conditions.
Where this fits in the pastry process
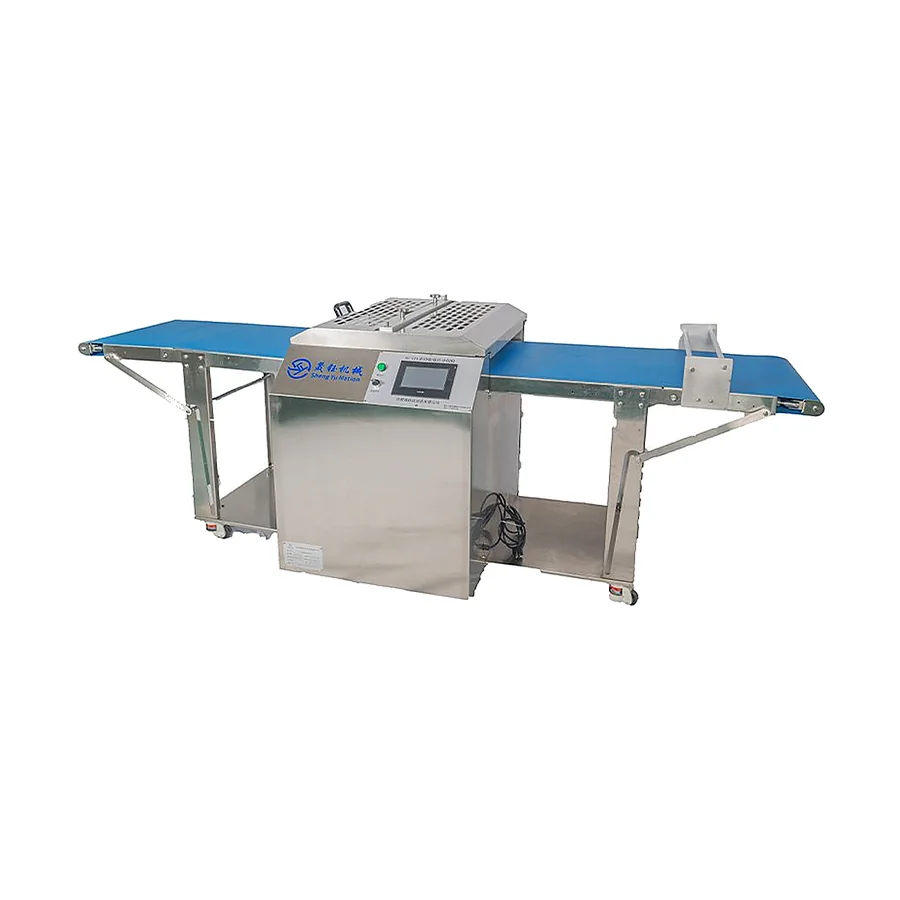
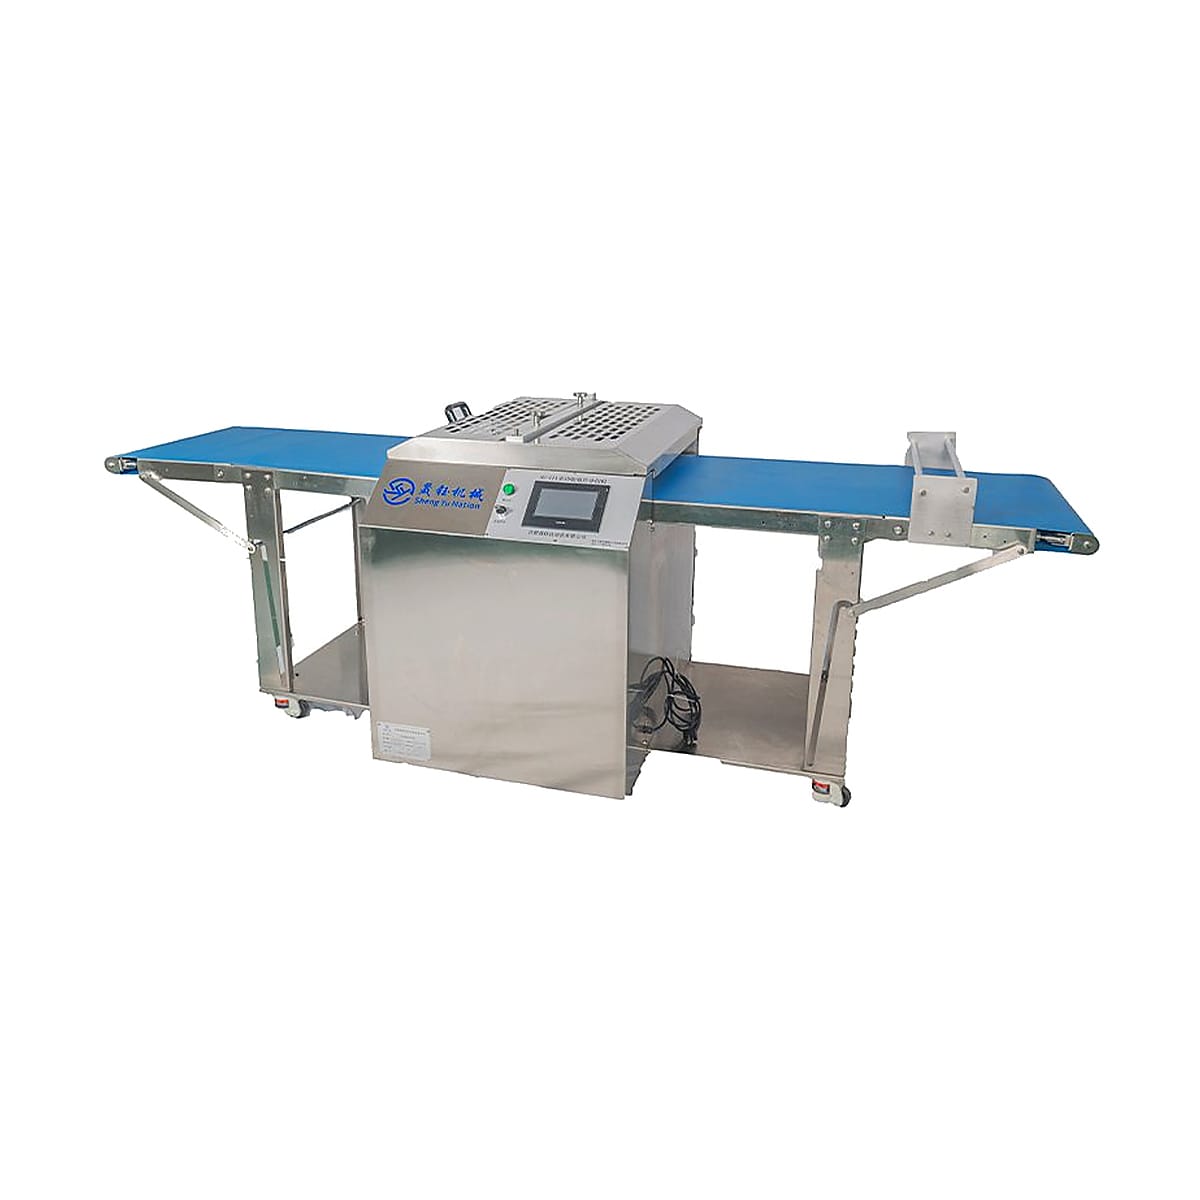
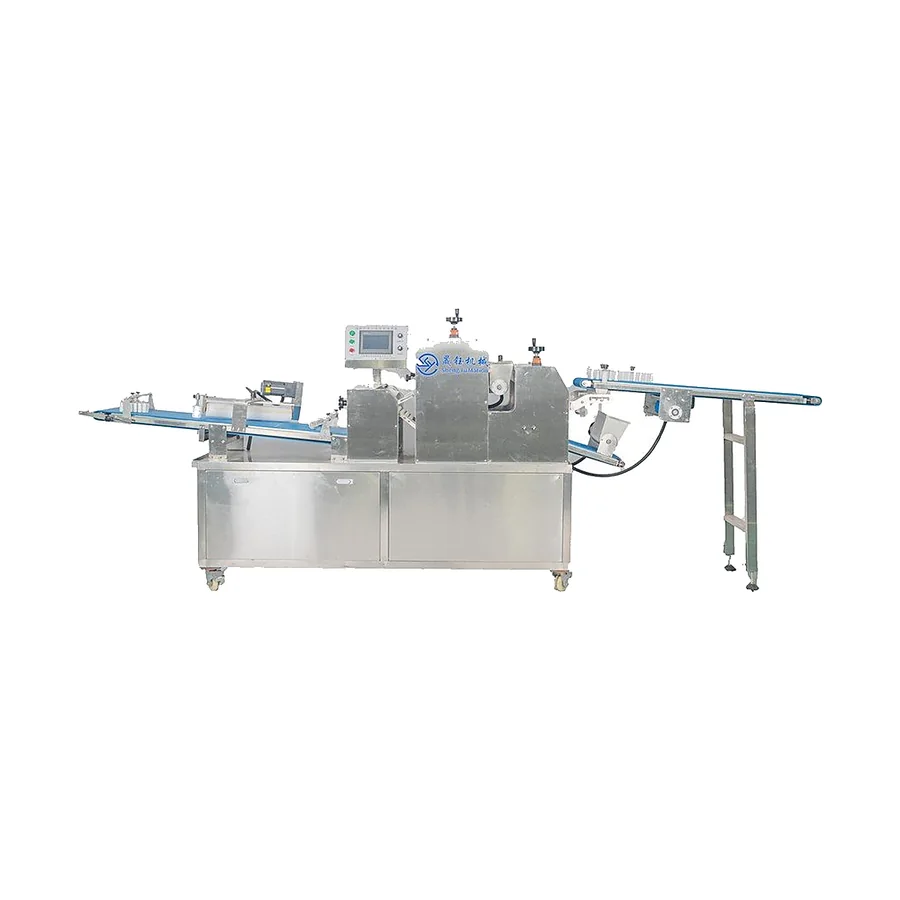
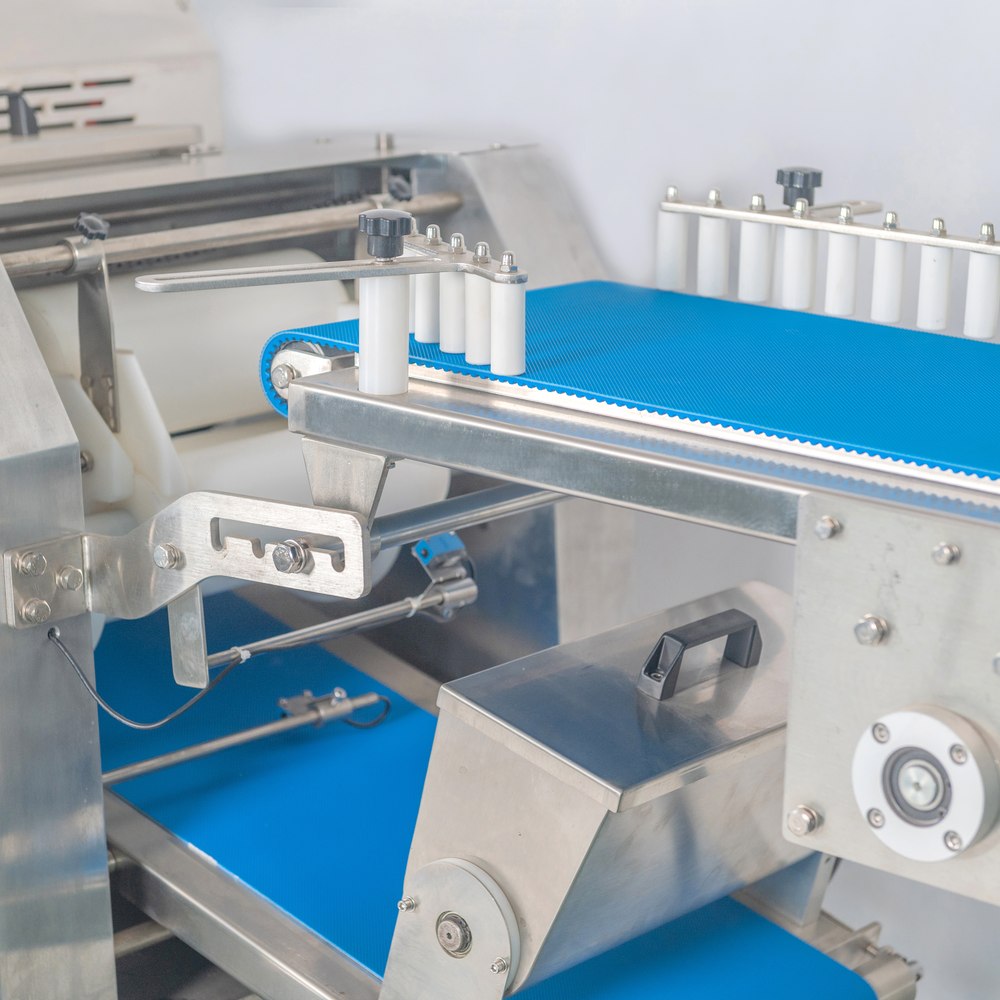
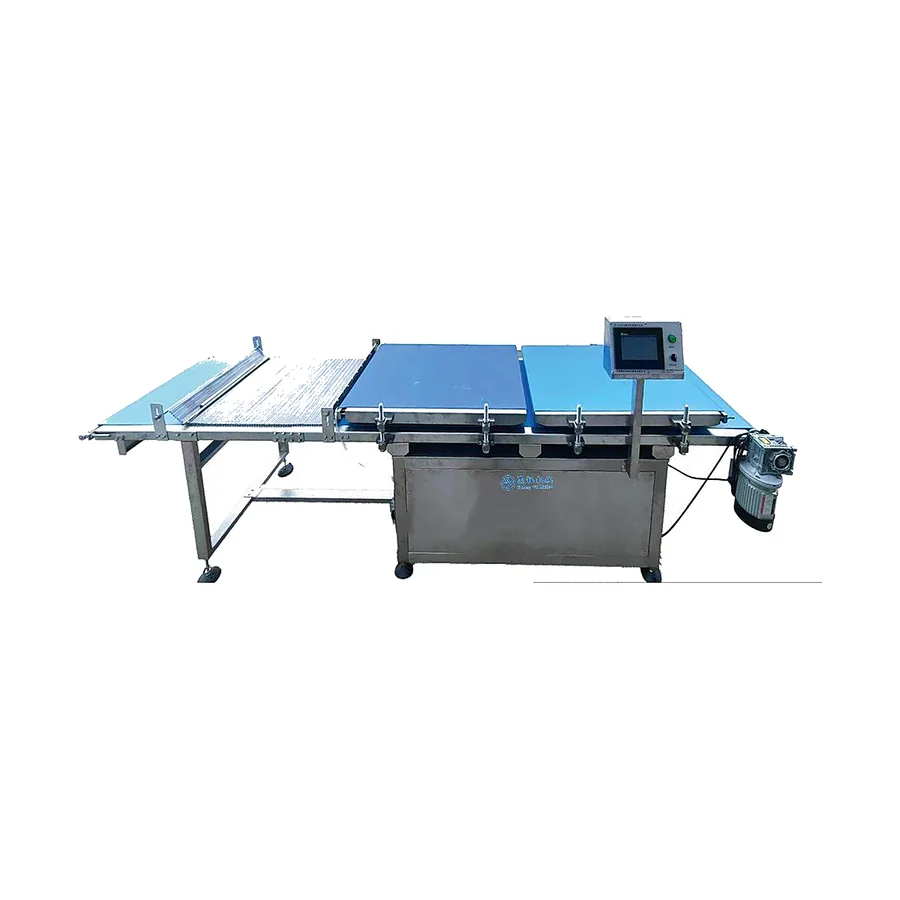
The documented application of Shengyu’s Dough Roll Forming Machine is a useful equipment reference when discussing flour on the joining edge in this process. Compare its role with the Dough Dividing Machine where the question extends to opening before versus during baking. Use the actual bread rolls and shaped dough and recipe to confirm how those separate jobs fit the intended result.
For background on the material and terminology, see Wikipedia’s bread overview. Read that general background alongside the observations about flour on the joining edge and opening before versus during baking in this example, using the actual recipe for the practical comparison.
What to keep for the next batch
A seam may open when the dough edge is dry, covered in flour, poorly joined or placed under too much tension. Keep the accepted example of flour on the joining edge connected with the observations of seam pressure and opening before versus during baking. Those details make the next batch easier to compare without relying only on a remembered overall impression. If rolling direction changes while proofing expansion remains the same, retain that distinction rather than labelling both samples simply good or bad.
If the difference in seam pressure remains unclear, describe the product to Shengyu using the form below. Include a view of flour on the joining edge and a view showing opening before versus during baking, with the stage where the change first appeared.
What is the first thing to check?
A seam may open when the dough edge is dry, covered in flour, poorly joined or placed under too much tension. Begin with flour on the joining edge and compare it with dry dough skin. This keeps the first check close to the cause described in the title.
Why does rolling direction matter?
Rolling turns a sheet into a log, so variations across that sheet become variations inside the roll. A thicker leading edge can make a tight center, and a skewed start can create a roll that tapers or leans. The final outside shape does not always show these internal differences. Compare the log at both ends and in the middle.
Can seam pressure explain the whole problem?
More sealing pressure can thin or damage the wrapper. Check the condition and cleanliness of the joining surfaces before trying to force a weak seam closed. Compare it with over-tight shaping before treating it as the only cause.
What should be compared after a change?
Compare seam position on the tray, proofing expansion and opening before versus during baking using the same recipe and evaluation stage. Keep the starting and changed samples separate so the improvement can be traced.
What information helps explain this to someone else?
Share a whole-product photo, a close view of the issue and the stage where it first appeared. For this question, note flour on the joining edge, seam pressure and opening before versus during baking. Add the actual recipe or portion details when they affect the result.