
Содержание
Неравномерные терпкие стенки обычно начинаются со смещенной от центра части теста, неравномерной мягкости теста или несоответствия между частью и чашкой.
Imagine a shell with a sturdy left wall and a thin right wall. Adding more dough may make the left side heavier without solving the imbalance. First look at the position of the unpressed portion. If its center is already displaced, the forming tool has farther to spread the dough on one side. If the portion starts in the center but the imbalance appears afterward, inspect the cup seating and the forming contact instead.
The bottom corner is especially revealing. It is where material has to change direction from the base to the upright wall. Cut through both a good shell and an uneven shell at the same orientation. A thick corner on the heavy side supports a distribution explanation; an evenly thin wall all around suggests that total portion or shell size deserves more attention.
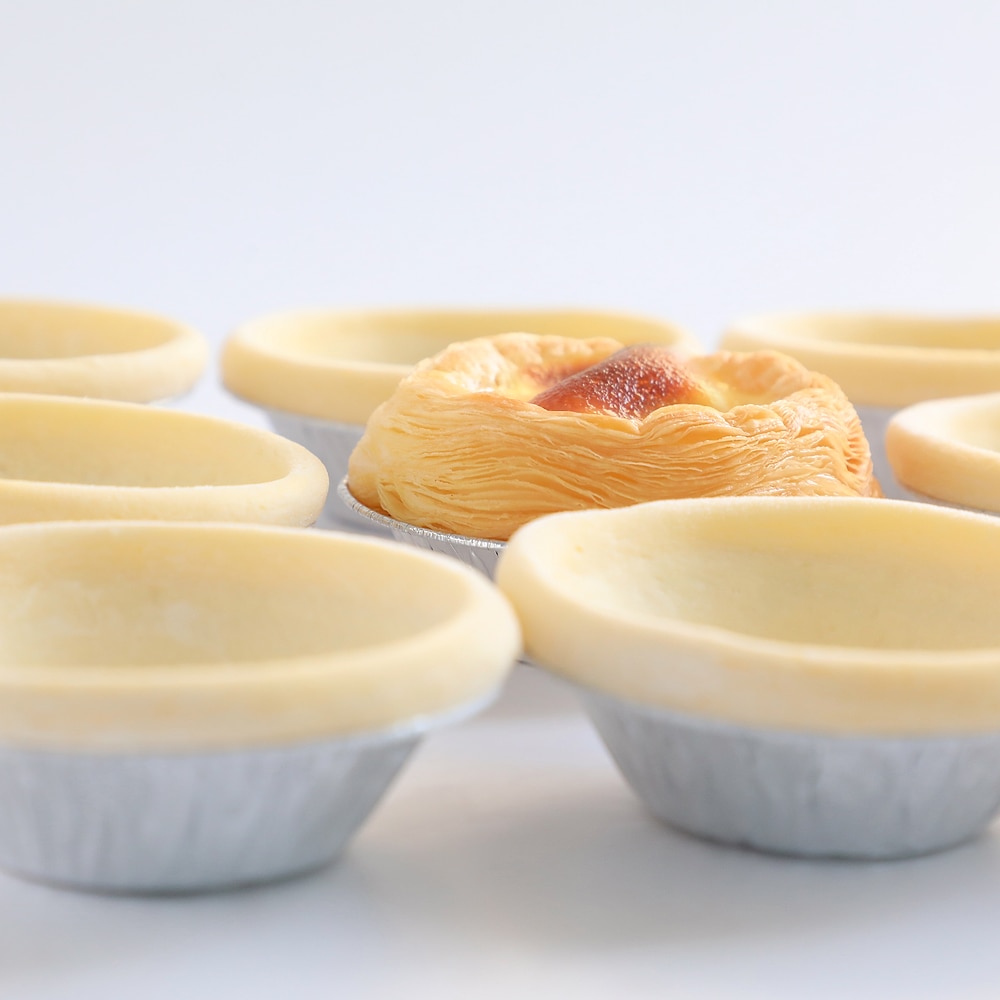
Center of dough portion: the first comparison
| Start with | Compare alongside | Question for the sample |
|---|---|---|
| Center of dough portion | Warm and cold dough comparison | Does the sample show a difference in center of dough portion before you inspect warm and cold dough comparison? |
| Weight before pressing | Rim height around the cup | Is the difference in weight before pressing still present when you inspect rim height around the cup? |
| Cup base level | Release marks | What changes between the observation of cup base level and the check of release marks? |
| Wall thickness before filling | Cross-section after baking | Do the accepted sample and the problem sample differ in both wall thickness before filling and cross-section after baking? |
Center of dough portion
For this question, center of dough portion gives you a specific place to begin. Pressure and flow act on the material that is actually in front of the tool. If a dough portion or shell starts off center, one side can receive more dough, pressure or filling than the other. A setting can be repeatable while the finished food remains uneven because its starting position is changing.
Compare the target position with the product itself rather than using the outside edge of the machine as a reference. A cup can sit slightly to one side even when the conveyor looks straight.
Adjusting the overall portion does not correct a position error; it can simply make both the thin and thick areas larger.
Weight before pressing
The next useful clue is weight before pressing. Use weight to distinguish material quantity from shape. Two equally tall deposits need not contain equal food, particularly if one is foamy or sits in a deeper shell. Weigh comparable samples and preserve their row, head or batch position. The scale must be suitable for the difference being investigated; a rounded display does not prove that small portions are identical.
For this example, read weight before pressing alongside wall thickness before filling. Note whether a difference in weight before pressing is present in the same samples that show a difference in wall thickness before filling; that relationship helps decide which part of the route deserves the next closer look.
Cup base level
Look at cup base level in the same part of the batch as the defect. Foil cups influence where dough rests and how the filled shell travels. Check whether the cup is single, correctly seated and stable before investigating a repeated shell defect. Similar top diameters can hide different depths or base shapes. A change of cup can therefore require a fresh shell and filling comparison; carrying over an old setting merely because the cups look familiar can be misleading.
Use the actual egg tarts to compare cup base level with wall thickness before filling. Keep the observations of cup base level tied to the preparation and handling history of those samples, so a change in wall thickness before filling is not attributed to an unrelated piece of food.
Wall thickness before filling
Pay particular attention to wall thickness before filling before changing a setting. A fixed dough portion has to cover all parts of the intended shell. Material left in a thick corner is no longer available to make a distant wall. Follow the thickness around a cut section and compare opposite sides. Look for abrupt changes as well as absolute thickness. Record when the imbalance first appears so later filling or transfer damage is not confused with the original distribution.
Compare wall thickness before filling and warm and cold dough comparison in the accepted sample and the problem sample. If wall thickness before filling matches while warm and cold dough comparison differs, keep them as separate clues rather than treating the whole product as one undifferentiated result.
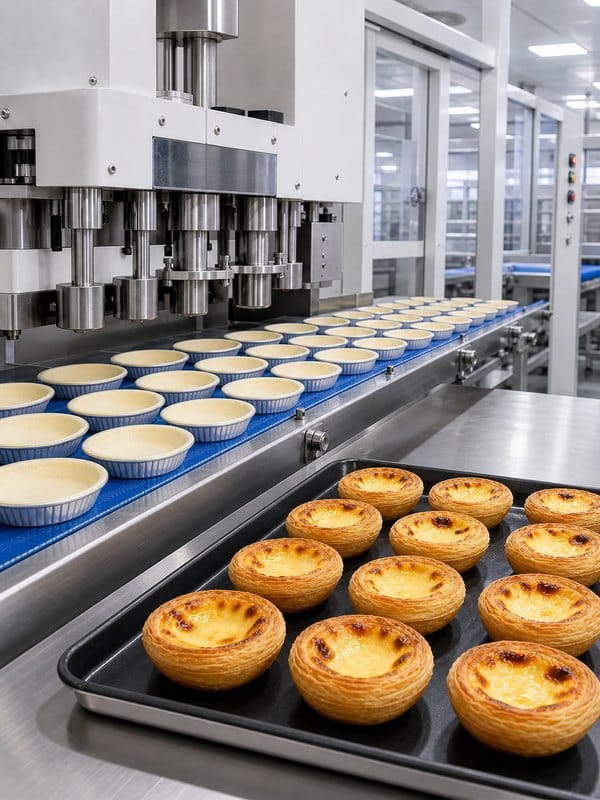
Warm and cold dough comparison
It is easy to overlook warm and cold dough comparison when judging only the finished shape. Dough and filling change as their temperature changes. Fat may soften, a paste may flow more freely, and dough that was easy to handle earlier may start to stick. The change can happen while material waits beside the equipment, even when the machine settings stay the same.
Keep the first and later samples separate and note how long the material waited before use. Compare material from the center of the batch with the portion already exposed to the room.
There is no single correct temperature for every pastry or filling. Use the recipe and an actual product trial instead of borrowing a number from an unrelated dough.
Rim height around the cup
A closer look at rim height around the cup can separate an upstream change from a later handling effect. Fine details need dough to reach the relevant part of the mold and then leave without being pulled apart. A shallow groove can clog with residue, while an unsupported thin edge may look correct in the mold and sag moments later.
Compare the mold detail with the raw outline immediately after release. Inspect the smallest corners and narrowest grooves, where missing material and sticking are easiest to distinguish.
A sharper raw outline does not guarantee the same baked outline. Recipe, expansion and handling after release can all soften the detail.
Release marks
Use release marks as an observation rather than an automatic reason to add more pressure or speed. Forming and release should be observed as two events. Look for a complete outline before lifting and the first sign of distortion afterward. The damaged face can identify where the product clung. Cleaning and release adjustments must suit the machine and recipe; an improvised surface treatment can change the food or contact materials and does not explain why the problem began.
Compare release marks and cross-section after baking in the accepted sample and the problem sample. If release marks matches while cross-section after baking differs, keep them as separate clues rather than treating the whole product as one undifferentiated result.
Cross-section after baking
Keep a separate note of cross-section after baking so it can be compared with the accepted result. Baking changes dough and filling together. A raw shape that looks correct can still give a soft base, uneven color or an unexpected texture if heat and moisture move differently from the intended recipe. The tray and the time spent waiting before baking can also matter.
Compare the raw sample with its baked result and note whether the defect was visible before oven entry. An empty-shell test can help separate a pastry issue from the effect of the filling when the recipe permits it.
Do not use browning alone as proof that the center or filling has reached the intended state. Follow the validated baking process for the food.
Try a small comparison using the actual food
To work through this example, begin with center of dough portion and weight before pressing. Compare their appearance or measurement in the reference sample and the sample showing the problem. Then follow wall thickness before filling and rim height around the cup before judging cross-section after baking. The key conclusion is: uneven tart walls usually begin with an off-center dough portion, uneven dough softness, or a mismatch between the portion and the cup. In particular, the connection between center of dough portion, wall thickness before filling and cross-section after baking should remain visible in the evidence. For example, a difference already visible at center of dough portion should remain part of the explanation even if the final result is first noticed at cross-section after baking. If center of dough portion and weight before pressing match but cross-section after baking differs, inspect the intervening observations of wall thickness before filling and rim height around the cup before changing the recipe. Record whether warm and cold dough comparison was observed before or after any normal pause, so the comparison with release marks can be made again under similar conditions.
Где это вписывается в процесс кондитерских изделий
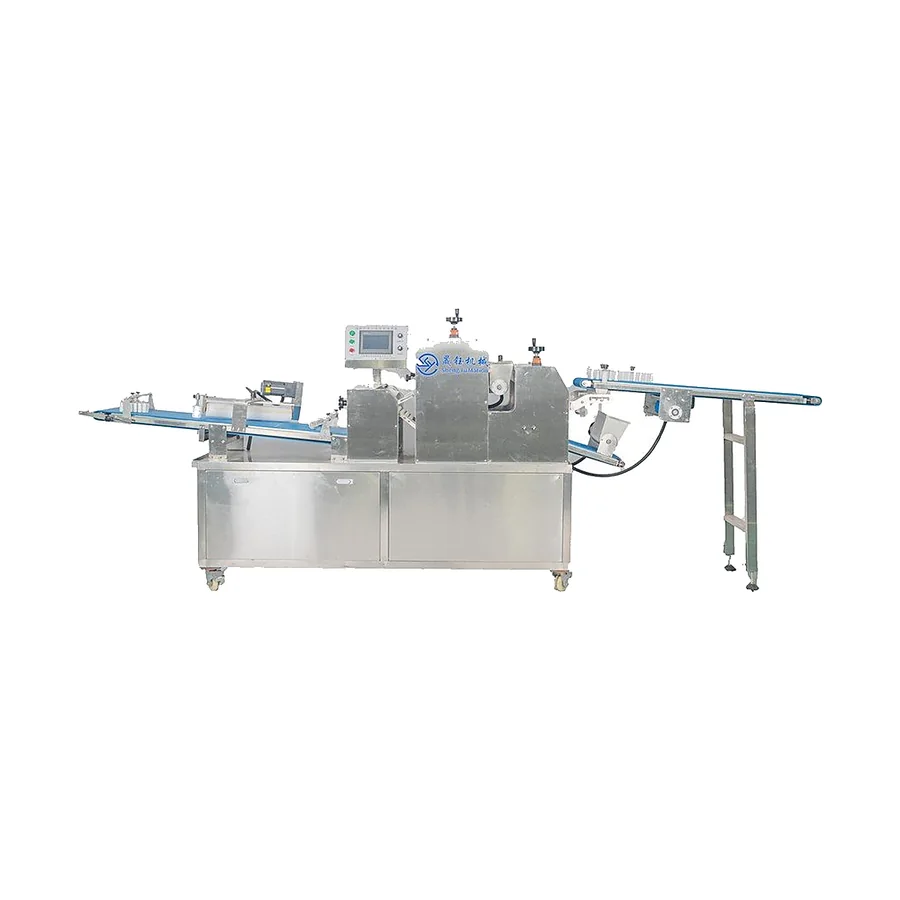
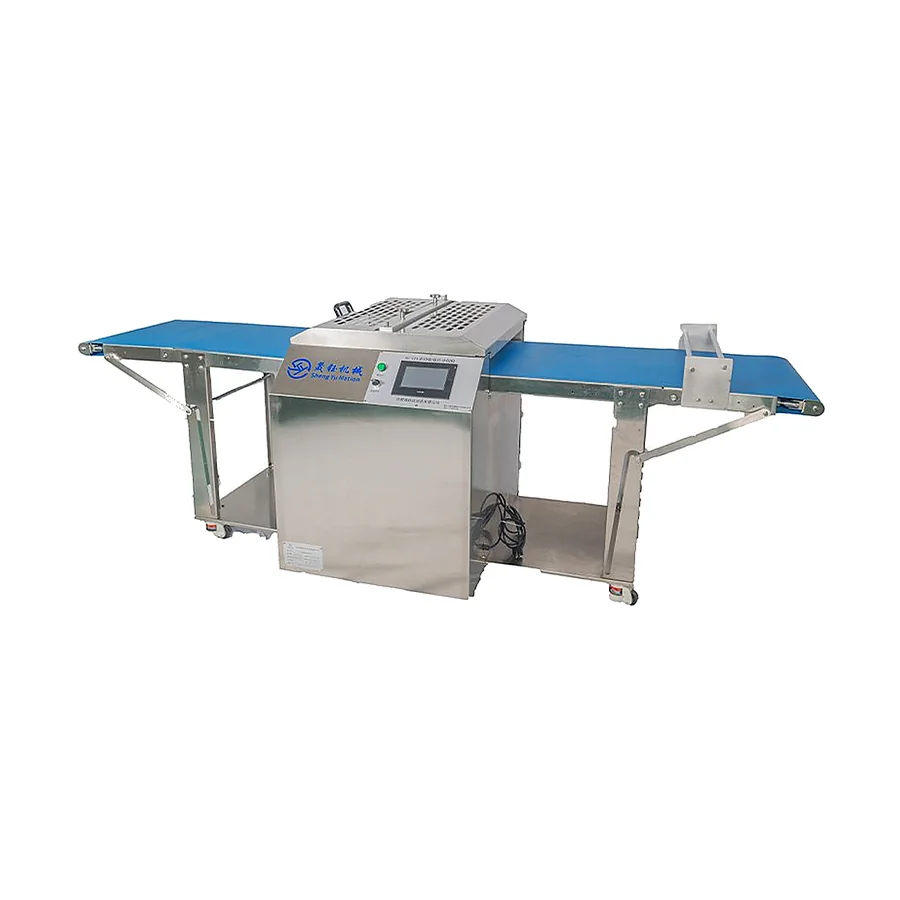
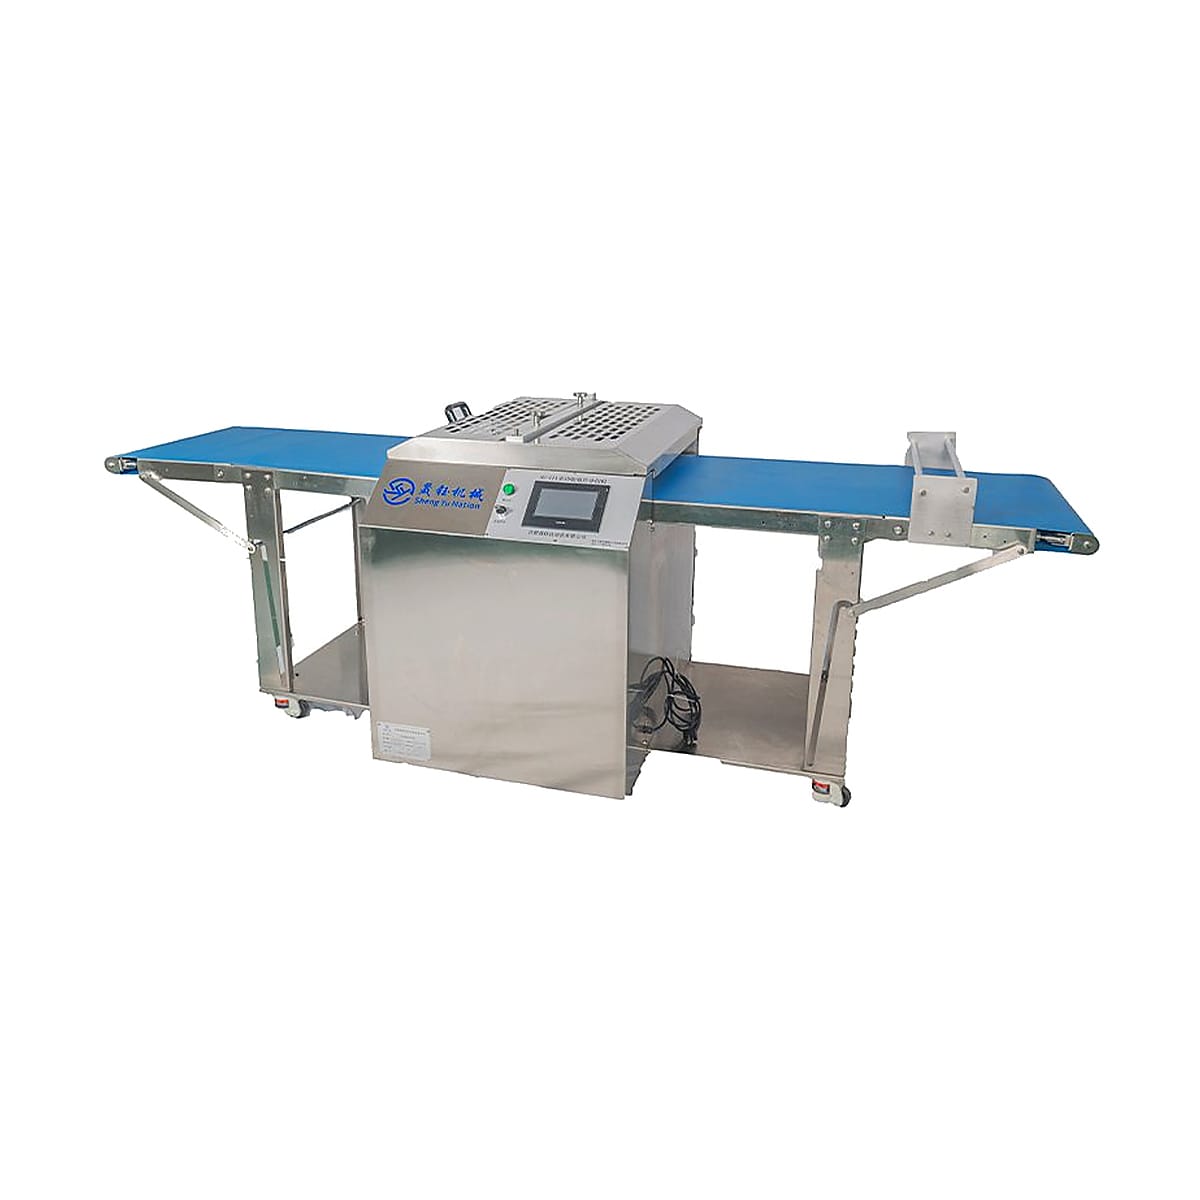
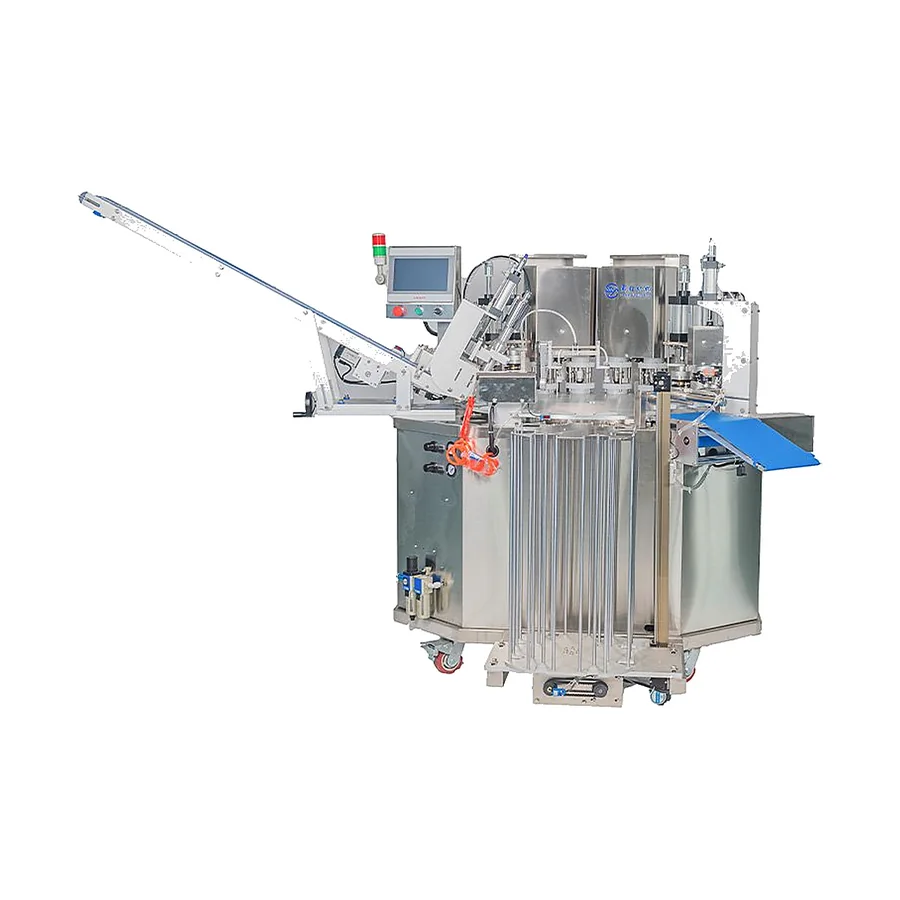
Документально подтвержденное применение Шэнъюя Полностью автоматическая португальская машина для формования яичных пирогов is a useful equipment reference when discussing center of dough portion in this process. Compare its role with the Терпкий Жидкость Заполняя Машину where the question extends to cross-section after baking. Use the actual egg tarts and recipe to confirm how those separate jobs fit the intended result.
Справочную информацию о материале и терминологии см. в Википедии custard overview. Read that general background alongside the observations about center of dough portion and cross-section after baking in this example, using the actual recipe for the practical comparison.
Что оставить для следующей партии
Uneven tart walls usually begin with an off-center dough portion, uneven dough softness, or a mismatch between the portion and the cup. Keep the accepted example of center of dough portion connected with the observations of wall thickness before filling and cross-section after baking. Those details make the next batch easier to compare without relying only on a remembered overall impression. If cup base level changes while release marks remains the same, retain that distinction rather than labelling both samples simply good or bad.
If the difference in wall thickness before filling remains unclear, опишите продукт Шэнъюю using the form below. Include a view of center of dough portion and a view showing cross-section after baking, with the stage where the change first appeared.
Что в первую очередь нужно проверить?
Uneven tart walls usually begin with an off-center dough portion, uneven dough softness, or a mismatch between the portion and the cup. Begin with center of dough portion and compare it with weight before pressing. This keeps the first check close to the cause described in the title.
Why does cup base level matter?
A foil cup is part of the support system for the pastry. Its base shape, rim and stiffness influence how it sits during pressing and transfer. Two cups stuck together can sit differently from one cup, while a missing cup leaves the dough without the expected support. Set aside several unused cups and compare their nesting, depth and base.
Can wall thickness before filling explain the whole problem?
One cross-section is a useful clue, not a complete batch result. Take samples from different moments or positions when the defect is intermittent. Compare it with warm and cold dough comparison before treating it as the only cause.
Что следует сравнивать после изменения?
Compare rim height around the cup, release marks and cross-section after baking using the same recipe and evaluation stage. Keep the starting and changed samples separate so the improvement can be traced.
Какая информация помогает объяснить это кому-то другому?
Share a whole-product photo, a close view of the issue and the stage where it first appeared. For this question, note center of dough portion, wall thickness before filling and cross-section after baking. Add the actual recipe or portion details when they affect the result.